How can admins create a survey?

Creating a survey is essential for gathering valuable feedback from users, enabling data-driven decisions and improvements in services. It fosters engagement, helps identify issues, and promotes accountability, ultimately enhancing communication and trust within the organisation.
1. Login to the career portal with your registered email and password.
2. You will land on your upon successful login. Hover over profile icon to expand the menu and click Manage Surveys.
3. You will land on Manage Surveys page. Click Create a Survey.
4. Fill in all the required information in the designated fields.
5. Select the Category type from the dropdown list provided.
6. Click Add Question to start writing your survey questions. Enter your question in the Question field, and then select the desired Answer Type.
7. Click Add Choice to input the answer choices for your question. If you wish to delete a choice, click Remove Choice.
8. Click Add Question to add more questions as needed.
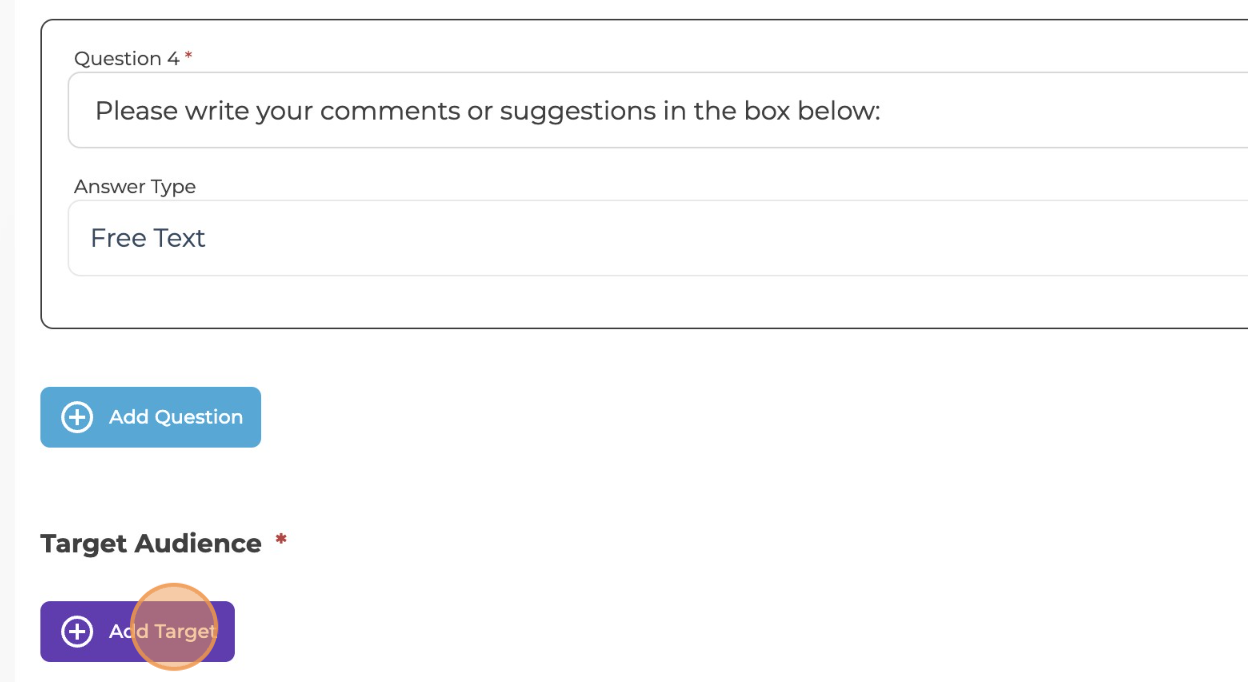
9. When you have finished adding the questions, click Add Target to select your target participants.
10. You may fill in the fields if you want to be more specific about your target audience.
11. Review all the questions, and click Submit when you are finished.
Related Articles
How do admins create a post on the career portal?
Admins can create posts to share announcements, updates, and important information with students, alumni, and employers through the career portal. Posts help keep the community informed, engaged, and up to date with the latest opportunities and ...What types of articles can admins create?
Identify your target audience—Jobseekers, Alumni, Employers, and Partner Organisations. Create content tailored to each group, such as career services news, job insights and tips, alumni success stories, and career advice. Here's a list of article ...How can I edit create a new employer admin account or add team members?
Manage team members to help oversee your account. Add your colleagues and assign appropriate access to ensure that assignments and responsibilities are covered and operations run smoothly. 1. On your profile, click on Manage team on the drop down ...How to export, edit, clone, or delete a survey?
Managing surveys through options like Export, Edit, Clone, or Delete is essential for effective data handling, enabling you to analyse, update, or remove information as needed. This not only enhances decision-making but also maintains data integrity, ...What graphs & charts are available to admins?
Graphs and charts are essential for visualising numeric data, enabling real-time monitoring and comparison of key performance indicators. They support informed decision-making by presenting complex data in a clear and accessible format, helping to ...